JANCD-YBB01 (DX100 / DX200 Robot Controller Backplane)
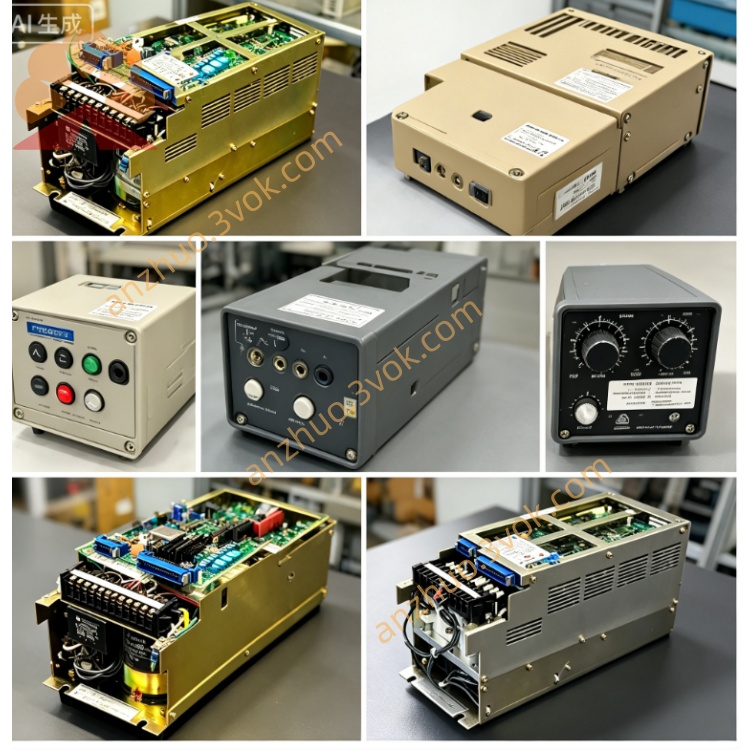
Description
1. General Information
2. Specifications
Power Supply: DC 24 V ±10%, supplied from the controller internal power supply unit
Max Current Consumption: Approximately 2.0 A (depends on inserted boards)
Operating Temperature: 0 °C to +55 °C
Storage Temperature: -20 °C to +70 °C
Humidity: 30% to 85% RH (non-condensing)
Altitude: Up to 1000 m
Vibration: 0.5 G or less (operating)
Dimensions: Standard DX100/DX200 cabinet backplane size
Weight: Approx. 1.2 kg
Material: Glass epoxy PCB, gold-plated edge connectors, metal mounting brackets
3. Board Configuration & Slot Assignment
CPU Slot: For JANCD-YCPxx series CPU board
Safety Slot: For JANCD-YSF21-E / YSF22-E safety board
Servo Interface Slot: For JANCD-YIF01-4E robot axis interface board
I/O Expansion Slots: For JANCD-YIO21-E, JANCD-Y1021, and other optional I/O boards
Power connectors: For internal 24 VDC distribution
Bus connectors: For system communication between boards
Ground terminals: For cabinet ground connection
4. Safety Precautions
Always disconnect the main power before installing, removing, or touching the backplane or any board.
After power-off, wait at least 15 minutes for internal capacitors to discharge before handling.
Do not insert or remove boards while power is applied; this may cause permanent damage and fire hazard.
Ensure proper grounding of the backplane and cabinet to prevent electric shock and noise issues.
Do not expose the board to water, oil mist, dust, or direct sunlight.
Use only the identical model (JANCD-YBB01) for replacement.
Do not bend, drop, or apply excessive force to the PCB.
Keep the backplane clean; use only a dry cloth for cleaning.
5. Installation Procedure
Power OFF: Turn off the controller main power and wait 15 minutes.
Cabinet access: Open the controller front door.
Mounting position: Locate the backplane mounting area in the cabinet rack.
Fixing: Align the backplane with the mounting holes and secure it with four screws (two at top, two at bottom). Do not over-tighten.
Board insertion:
Insert CPU board into CPU slot until fully seated.
Insert safety board, servo interface board, and I/O boards into their respective slots.
Ensure each board is fully inserted and locked with the slot latch.
Internal wiring: Connect 24 VDC power cables and ground wires to the designated terminals on the backplane.
Close cabinet: Close and lock the cabinet door.
Power ON: Restore main power and verify normal system startup.
6. Replacement Instructions
Backup data: Before replacement, back up all robot programs, parameters, and system data using the teach pendant or external storage.
Power OFF: Disconnect main power and wait 15 minutes.
Remove all boards: Unplug and remove all boards (CPU, safety, I/F, I/O) from the old backplane.
Remove old backplane: Unscrew the four mounting screws and carefully take out the old backplane.
Install new backplane: Follow the installation procedure in Section 5.
Reinstall boards: Insert all boards into the new backplane in the correct order.
Restore data: After power-on, restore the backed-up data to the controller.
Verification: Perform a full system check and test run to confirm normal operation.
7. Troubleshooting
No power to backplane
Check that the main power is ON.
Verify 24 VDC power supply output.
Check loose or damaged power cables.
Confirm backplane fuse (if equipped) is intact.
System fails to boot after replacement
Ensure all boards are fully inserted and locked.
Check for bent or dirty edge connectors.
Verify correct slot assignment for each board.
Restore system data and parameters.
Communication errors between boards
Inspect edge connectors for dirt, oxidation, or damage.
Check for loose board insertion.
Verify backplane ground connection.
Check for excessive noise or vibration in the cabinet.
8. Maintenance
Periodic inspection: Every 6 months, check for loose screws, dirty connectors, or signs of overheating.
Cleaning: Use a dry, lint-free cloth to remove dust from the PCB and connectors. Do not use liquid cleaners.
Connector care: Keep edge connectors clean and free of oxidation. Use contact cleaner only if necessary.
Replacement life: Recommended replacement every 5 to 8 years, or if damage, burning, or corrosion is observed.
Get a Quote