JZNC-MTU18
Description
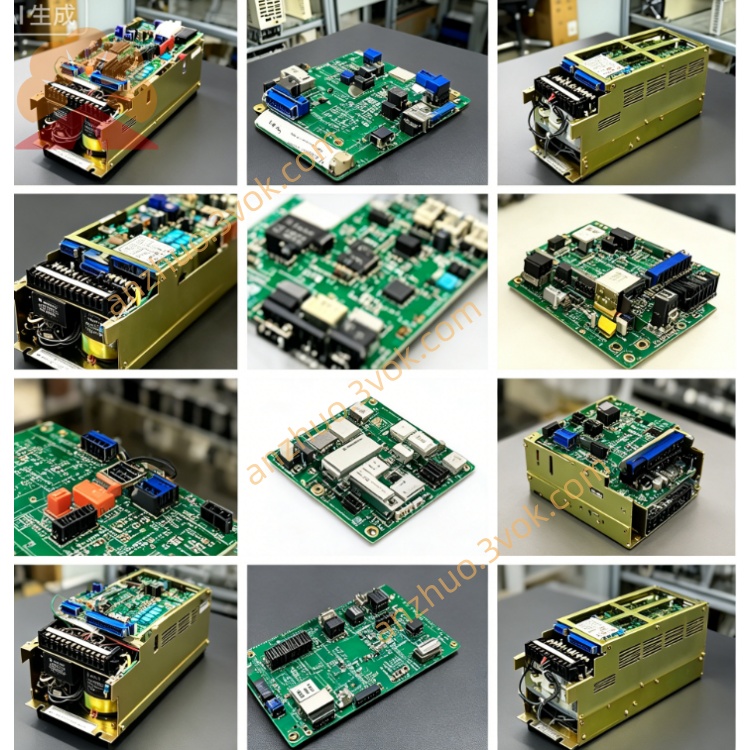
1. Product Overview
2. Electrical Rating Parameters
Input source: AC100~120V / AC200~240V single phase from cabinet main transformer, 50/60Hz
Output multi-channel stabilized DC voltage:
+5V / 4.2A (for CPU & logic circuit);
+24V / 3.8A (I/O, safety circuit, teach pendant);
±15V auxiliary power for analog signal processing
Built-in input fuse, overvoltage, overcurrent, short-circuit automatic protection function; protection lockout when output overload or short-circuit occurs, cut off all DC output automatically.
Rated power consumption: approx 125W max full-load operation
3. Ambient Working Conditions
Operating temperature: 0℃ ~ +55℃ continuous running; storage temp: -20℃ ~ +70℃
Working humidity: 10%~90%RH non-condensation; pollution level Class II, IP20 indoor cabinet installation only
Avoid installation position with oil mist, corrosive gas, strong vibration and high-frequency electromagnetic interference near inverter or welding power source.
4. Connector & Installation Description
4.1 Gold finger interface
4.2 Side wiring terminal block
4.3 Mounting structure
5. Replacement & Installation Procedure
Cut off robot cabinet total AC input power completely, wait at least 10min for internal big capacitor residual voltage full discharge to avoid electric shock risk.
Mark AC input cable sequence on MTU18 terminal, loosen fixed screw, pull out faulty JZNC-MTU18 straight from backplane slot.
Insert new MTU18 into original backplane slot firmly, tighten fixing screw, recover AC input wiring strictly per pre-marked sequence.
Close cabinet door, switch main power on; check power indicator LED on MTU18 is normally lit, no power supply alarm on robot system display.
Complete robot power-on self-test, jog each axis individually to verify full system power supply stable before production operation.
6. Common Troubleshooting
All robot boards no power after power-on, MTU indicator off: Check AC input voltage at CN terminal, inspect input fuse blown on MTU18 board, replace blown fuse or faulty power module.
System randomly power drop-out intermittently: Clean backplane slot gold finger and MTU board edge pins for oxidation/dust, check loose AC wiring terminal.
Teaching pendant abnormal power loss or I/O module alarm: +24V output overload caused by peripheral short-circuit; disconnect external I/O load one by one to find short-circuit point, reset power module after fault cleared.
Overheat alarm and auto shutdown: Poor cabinet ventilation leads to over-temperature; clean board surface dust and cabinet cooling fan.
Get a Quote