
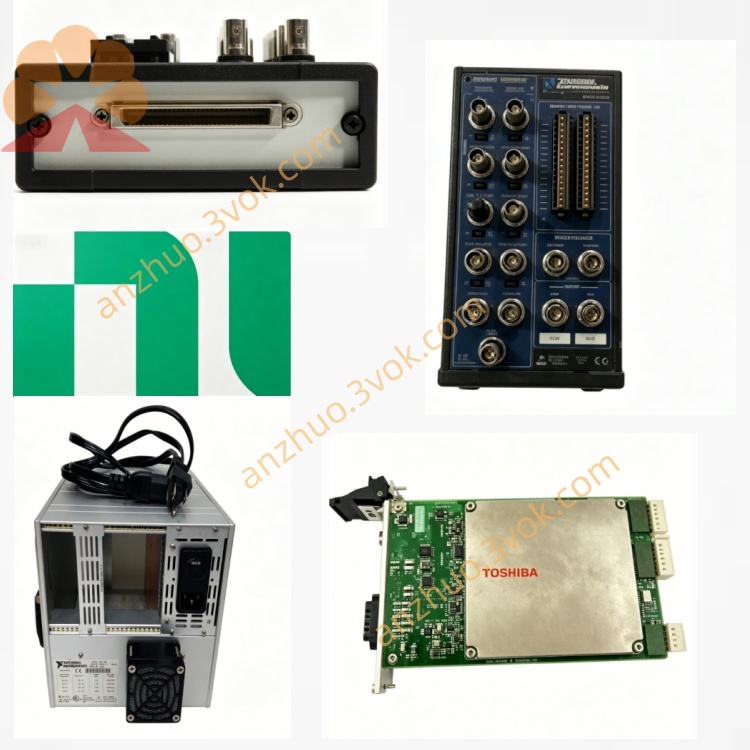
NI PXI-8170 Series 3U Pentium III PXI Embedded System Controller
The PXI‑8170 is a legacy 3U PXI/CompactPCI embedded controller manufactured by National Instruments (NI). Based on Intel Pentium III architecture, it integrates a complete PC system into a 3U PXI form factor, serving as the system controller for PXI/CompactPCI test, measurement, and industrial automation systems. It occupies 1 system slot plus 3 expansion slots in a PXI chassis, delivering high‑performance computing while reserving full PXI backplane bandwidth for peripheral modules. This model is obsolete
Description
Model Nomenclature
PXI stands for PCI eXtensions for Instrumentation, which refers to the standard modular instrumentation bus. The number 8170 belongs to the PXI embedded controller product line. The digit combination indicates it is an early high-performance model equipped with Pentium III processor. Overall, this is a PXI bus embedded controller from the 81xx series with Pentium III computing core.
Technical Specifications
Basic Specifications
The device adopts 3U form factor and takes up four continuous slots in total, including one system slot and three expansion slots. It is configured with Intel Pentium III processor running at 450 megahertz and 100 megahertz front side bus, paired with Intel BX chipset. The standard onboard memory is 64 megabytes SDRAM, and the maximum supported memory capacity reaches 256 megabytes via two 144-pin SO-DIMM sockets. It is fitted with an IDE hard drive of no less than 4 gigabytes and a standard 3.5-inch floppy disk drive. The integrated Super VGA graphics unit carries 2 megabytes SGRAM and supports both CRT monitors and TFT liquid crystal displays. The theoretical maximum transmission bandwidth of PXI bus is 132 megabytes per second. The typical power consumption is around 25 watts, and all power is supplied by the PXI backplane. The operating temperature ranges from 0 degrees Celsius to 55 degrees Celsius, while the storage temperature ranges from minus 40 degrees Celsius to 71 degrees Celsius. Supported operating systems include Windows 98, Windows NT 4.0 and DOS.
Onboard I/O Interfaces
It is equipped with one VGA video port for display connection, one DB-9 RS-232 serial port and one DB-25 parallel port. One USB 1.1 port is available for peripheral connection. Standard PS/2 interfaces for keyboard and mouse are also reserved on the panel. The front panel is fitted with a reset button, a floppy drive bay and working status indicator lights.
Interface and Communication Configuration
Internal Bus
As a system controller, it connects to PXI and CompactPCI backplane, and fully supports PXI trigger bus and RTSI synchronization bus. The internal PCI bus is directly linked without additional bridge chips to retain complete bus bandwidth for external modules. An integrated ISA bus is reserved to ensure compatibility with traditional legacy devices.
Software and Communication Settings
Corresponding supporting drivers include NI-PXI, NI-DAQ, NI-VISA and NI-488.2M. Common development environments cover LabVIEW, LabWindows/CVI, C/C++ and Visual Basic. It supports mainstream communication modes such as TCP/IP, UDP and serial communication. GPIB function can be expanded by installing additional functional modules.
Core Features
It delivers stable computing performance based on 450 megahertz Pentium III processor, and can handle multitask operation and basic algorithm operation required by traditional test and control applications. Without bridge chips on the PCI path, the full 132 megabytes per second bus bandwidth is reserved for PXI peripheral modules to guarantee high-speed data transmission. Multiple traditional interfaces enable good compatibility with old-style displays, external peripherals and traditional testing instruments. The onboard memory can be upgraded on site through accessible SO-DIMM sockets to extend the service life of the whole system. With standard industrial grade design, it adapts to complex industrial and field working environments and runs stably under long-term working conditions.
Applications
It is widely applied in traditional automated test equipment, including old-generation semiconductor test platforms and functional test systems for legacy electronic assemblies on production lines. It also serves for industrial process control and equipment monitoring, and operates steadily in long-running factory automation systems. For medium-speed data collection and data recording work, it can complete signal collection and real-time monitoring of multiple sensors. The compact and rugged structure makes it suitable for portable field test devices, such as on-site equipment maintenance and vehicle fault diagnosis. In addition, it is used in teaching and research laboratories equipped with legacy PXI devices for daily teaching and small-scale experimental testing.
Usage and Maintenance Instructions
Installation and Power On
Install the controller into a standard 3U PXI chassis, and ensure it occupies four continuous slots correctly. The device obtains power entirely from the PXI backplane, so confirm the chassis can provide no less than 25 watts power supply for each slot before powering on. Connect monitors, keyboards, mice and other peripherals to corresponding front panel interfaces first, then switch on the system power.
Software Configuration
Install the matched operating system and official NI supporting drivers after hardware installation. Enter BIOS setting interface by pressing the reset button during system startup to adjust boot sequence, display mode and other hardware parameters. Install application development software according to actual functional demands to build test and control programs.
Environmental Requirements
Keep the working temperature between 0 degrees Celsius and 55 degrees Celsius during operation, and make sure the chassis fan works normally and internal air circulation is unobstructed. The working humidity should be controlled between 10 percent and 90 percent without condensation. Place the device in a dry and dust-free working environment and keep away from corrosive gas and strong electromagnetic interference.
Daily Maintenance and Troubleshooting
Cut off the power before maintenance work. Clean the front panel interfaces and chassis internal dust regularly with dry cloth every quarter. When storage devices work abnormally, check the operating status of the hard drive via system tools and replace the faulty IDE hard drive with a compatible model in time. If the system fails to boot, inspect the backplane power supply condition, re-seat the controller module or restore BIOS default settings. When upgrading memory, cut off power firstly and install qualified SDRAM modules into SO-DIMM sockets. For long-term idle storage, cut off the power and place the device in dry environment, and power it on for one hour every month to prevent component damage caused by moisture.
Safety Notice
This product is only applicable to indoor industrial scenarios, with the applicable altitude not exceeding 2000 meters and pollution degree rated as level two. Follow local relevant regulations to dispose of the device when it is scrapped, and do not discard it as ordinary domestic garbage.
Get a Quote