100031593.1
Description
1. Product Overview
2. Main Features
Industrial grade design, wide working temperature range adapt to harsh site environment
Full galvanic isolation between power supply, input and output circuits
Multi-channel digital dry contact input, compatible with 24VDC signal level
Relay contact output, with strong load driving capacity
Integrated analog signal sampling interface, supporting standard voltage and current signals
RS485 communication interface, Modbus RTU protocol, easy to connect with PLC and controller
DIN rail mounting type, easy installation and wiring
Built-in power reverse connection, overvoltage and surge protection circuit
Low power consumption, long service life, maintenance-free operation
3. Technical Specifications
3.1 Power Supply
3.2 Digital Input
3.3 Relay Output
3.4 Analog Input
3.5 Communication Interface
3.6 Environmental Conditions
3.7 Mechanical Parameters
4. Application Scope
Generator set control and auxiliary signal collection
Marine engine room automation, alarm and monitoring system
Industrial factory automation I/O signal expansion
Power distribution cabinet signal acquisition and logic control
Wind power, solar energy and new energy control system
PLC peripheral remote I/O expansion
5. Installation and Wiring Instructions
5.1 Installation Requirements
The module shall be installed vertically on standard 35mm DIN rail inside the control cabinet.
Keep no less than 20mm ventilation space around the module, do not block the ventilation gap.
Install away from high voltage frequency converter, contactor and other strong electromagnetic interference equipment.
Operate with anti-static measures before installation to avoid static damage to internal circuit.
Do not install in environment with corrosive gas, heavy dust, dripping water and condensation.
5.2 Wiring General Rules
All wiring must be carried out under power-off state, only qualified electrical personnel can construct.
Power line adopts 1.5~2.5mm² copper wire; signal line adopts 1.0~1.5mm² twisted pair wire.
Analog signal and RS485 communication line shall use shielded twisted pair cable.
Tighten terminal screws with standard torque 0.8~1.0Nm to prevent poor contact and heating.
High voltage power line and low voltage signal line shall be routed separately to avoid interference.
5.3 Terminal Definition Description
Power terminals: 24VDC positive, 24VDC negative, protective earth PE
Digital input terminals: Each channel signal input and public common terminal
Relay output terminals: Each group of relay NO, COM, NC contact terminals
Analog input terminals: Analog positive, analog negative and signal ground
Communication terminals: RS485 A line, RS485 B line, communication ground
5.4 Wiring Notes
The protective earth terminal must be reliably connected to cabinet ground for anti-interference and safety protection.
Digital input dry contact signal shall avoid long-distance parallel laying with power cable.
Relay output is forbidden to exceed rated voltage and current; inductive load shall be connected with absorption loop.
The shielding layer of shielded cable is only grounded at one end, not grounded at both ends.
Do not short-circuit the power input terminal, otherwise it will cause internal circuit damage.
6. Operation and Parameter Configuration
6.1 Panel Indicator Description
6.2 Configuration Method
Connect the module RS485 interface to PC through USB to RS485 adapter.
Use supporting configuration software to connect the device.
Set Modbus station address, baud rate, parity check and communication parameters.
Configure analog input type, signal range and sampling filter parameters.
Set digital input logic and relay output interlock logic as required.
Save parameters to the module, power off and restart to take effect.
6.3 Normal Working Mode
7. Safety Precaution
There is electric shock hazard in the circuit, all installation, wiring and maintenance must be operated in power-off state.
It is strictly forbidden to disassemble the module shell without authorization, which will void the warranty and cause electrical danger.
Do not apply overvoltage beyond the specified range to power supply and signal terminals.
Avoid using in ultra-high temperature, ultra-low temperature and strong vibration environment beyond the specification range.
Do not connect short circuit to relay output contact, so as not to burn internal relay and circuit.
After the module is powered off, there is residual charge inside; do not touch the terminals immediately.
8. Daily Maintenance
Regularly check whether the terminal wiring is loose and whether there is oxidation and discoloration.
Clean surface dust regularly with dry soft cloth, do not use liquid cleaning agent.
Check whether the indicator light status is normal during daily operation.
Every 12 months, retighten all wiring terminals and test input and output functions one by one.
Check communication stability and analog signal accuracy regularly, and calibrate if necessary.
9. Troubleshooting
Power indicator not on: Abnormal 24VDC power supply, reverse wiring or internal fuse damage.
Run indicator always red: Internal program exception, parameter error or hardware failure.
Digital input no response: Wrong wiring, signal source failure or channel damage.
Relay output not actuated: Parameter configuration error, load short circuit or relay contact damage.
Analog signal inaccurate: Signal line interference, wrong signal type setting or line aging.
Communication failure: Wrong baud rate and address, reversed A/B line or cable breakage.
10. Warranty and Disclaimer
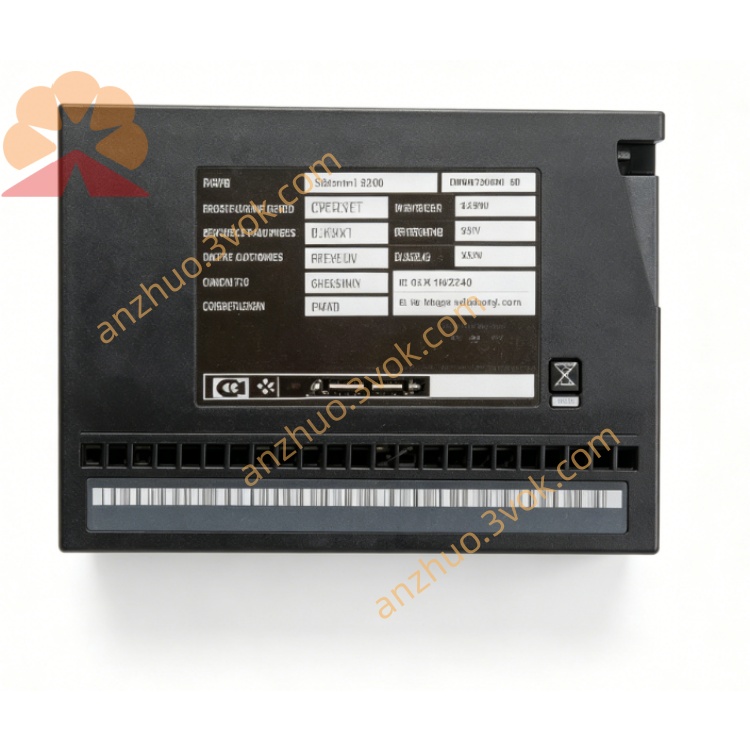
Model Part No.: 100031593.1 Industrial I/O Module
Warranty period: 24 months from the date of delivery under normal installation and use.
The warranty does not cover damage caused by overvoltage, lightning strike, water ingress, man-made disassembly, wrong wiring and use beyond specification conditions.
The manufacturer reserves the right to update product specifications and manual content without prior notice.
The manufacturer shall not be liable for indirect losses caused by improper installation and use of the product.
Get a Quote