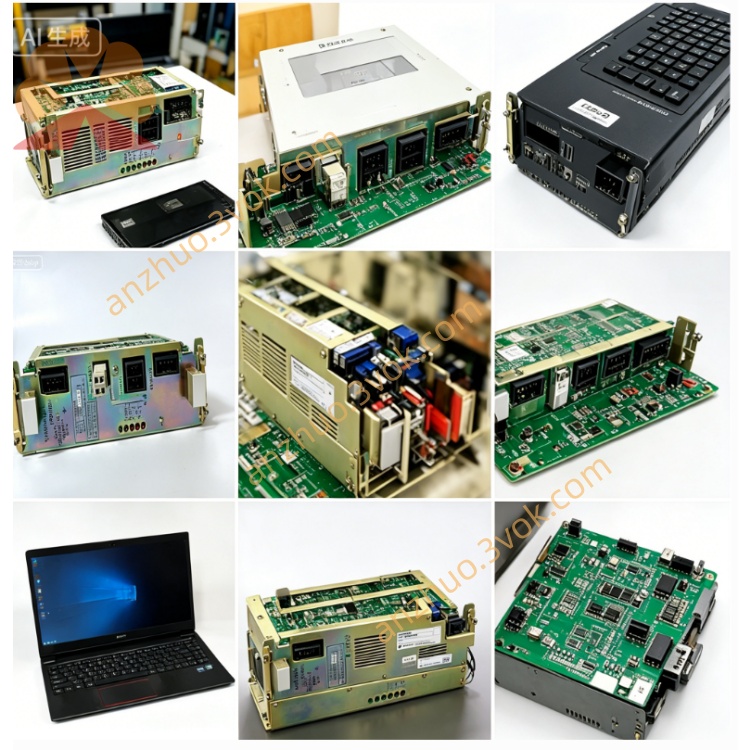
JANCD-SP04
Description
1. General Information
1.1 Overview
1.2 Basic Specifications
Model: JANCD-SP04
Part Number: DF8201107 (or equivalent)
Manufacturer: Yaskawa Electric / Motoman
Applicable System: Motoman XRC series robot controller
Board Type: LCD display & operator interface PCB
Status: Discontinued (only used/refurbished available)
Weight: ~0.5 kg
Origin: Japan
2. Electrical & Environmental
2.1 Power Supply
Input Voltage: 5 VDC ±5% (from controller backplane)
Rated Current: 120 mA (nominal)
Max Power Consumption: ≤0.6 W
2.2 Interface
Main Interface: Dedicated LCD port (for XRC front-panel LCD module)
Auxiliary Interface: Onboard LED array + pushbutton circuit
Signal Type: Digital video, TTL-level control signals
2.3 Environmental Conditions
Operating Temp: 0 °C to +40 °C
Storage Temp: -20 °C to +50 °C
Humidity: 5%–80% RH (non-condensing)
Altitude: ≤1,000 m above sea level
3. Main Functions
- LCD Driving & Display
Drives the XRC front LCD to show:
Robot status (Auto/Manual, Servo On/Off)
Alarm/error codes and messages
Program status, I/O states, and system parameters
- Local Operation Control
Processes signals from front-panel pushbuttons for:
Mode selection (Auto/Manual/Teach)
Program start/stop
Alarm reset and emergency stop acknowledgment
- Status Indication
Multiple onboard LEDs indicate:
Power supply status
System communication activity
Fault/alarm alerts
- Internal Communication
Communicates with the XRC main CPU via internal bus
Transmits user input (keys/switches) and receives display data
4. Compatibility & Installation
4.1 Compatibility
Exclusive Compatibility: Motoman XRC series controllers
Incompatible: NX100, NXC100, DX series, Yasnac CNC systems
4.2 Installation Steps
Power OFF the controller; wait ≥5 minutes for capacitor discharge.
Wear an ESD wristband to prevent static damage.
Insert the board into the designated backplane slot and secure it.
Connect the LCD cable and button/LED harness to the board.
Restore power and verify LCD display and LED/button functionality.
5. Maintenance & Safety
Periodic Inspection: Every 3 months; check cables/connectors for looseness, dust, or oxidation.
Cleaning: Use only dry, lint-free cloth; avoid liquid cleaners or high-pressure air.
ESD Protection: Always ground yourself when handling the board.
Power Safety: Disconnect all power before disassembly or maintenance.
Qualified Personnel: Only trained technicians should perform installation/repair.
6. Troubleshooting
| Fault Symptom | Possible Cause | Solution |
|---|---|---|
| LCD no display | Loose LCD cable or bad connection | Reconnect and secure all cables |
| Buttons unresponsive | Faulty button circuit or wiring | Check board and harness connections |
| All LEDs off | Abnormal 5V power supply | Inspect backplane power circuit |
| System not recognizing board | Improper insertion or dirty contacts | Reinstall board; clean edge connectors |
Get a Quote