1172C29H01
Description
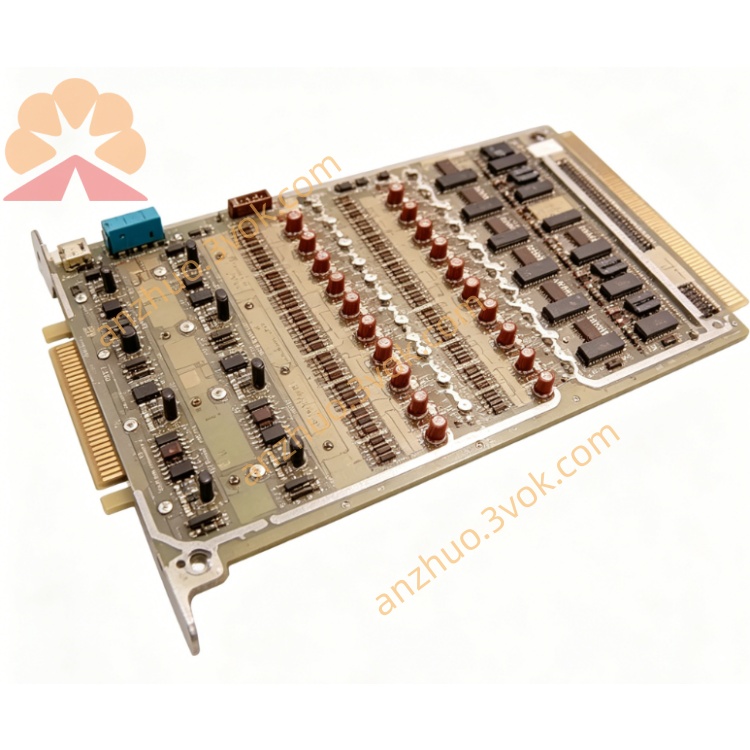
1. Product Overview
2. Main Features
Integrated multi-channel hybrid I/O structure, compatible with common industrial standard signals
16-bit high precision resolution for all analog channels
Full software configuration for signal type, range and working parameters
Built-in isolation, overvoltage, overcurrent, short-circuit and overheat protection
Adopts RS485 communication interface, supports Modbus RTU protocol
Wide operating temperature range, suitable for harsh industrial environments
Digital channels support logic mode selection and adjustable debounce time
Analog channels support digital filtering and communication loss fail-safe setting
Flame-retardant industrial housing, compact size, standard DIN rail mounting
Stable long-term operation, low power consumption and high reliability
3. Technical Specifications
3.1 General Parameters
3.2 Channel Configuration
3.3 Analog Performance
3.4 Communication Parameters
4. Safety Precautions
Installation, wiring and maintenance must be completed by qualified professional personnel.
Cut off all power supply before wiring, disassembly or maintenance to prevent electric shock and equipment damage.
Do not install the module in environments with flammable gas, explosive dust, corrosive vapor or conductive particles.
Keep enough ventilation space around the module and do not block heat dissipation gaps.
Signal cables and power cables shall be laid separately to reduce electromagnetic interference.
The protective grounding terminal must be connected to reliable earth ground to ensure safety and anti-interference performance.
Do not exceed the rated load of each input and output channel to avoid permanent damage.
Do not disassemble, modify or refit the internal structure of the module without authorization.
5. Installation and Terminal Definition
5.1 DIN Rail Installation
Fix the 35mm standard DIN rail firmly on the mounting base.
Align the upper buckle of the module with the edge of the DIN rail.
Press the module downward until the bottom lock snaps into place.
Shake the module slightly to confirm it is fixed firmly without sliding.
5.2 Terminal Definition
5.3 Wiring Instructions
Strip about 6mm insulation from the wire end.
Loosen terminal screws with a standard screwdriver.
Insert wires into corresponding terminals strictly according to definitions.
Tighten screws moderately to ensure good contact, avoid over-tightening.
Fix cables with cable ties to prevent pulling stress on terminals.
Analog signal uses shielded twisted-pair cable with single-end shielding grounding.
Digital signal uses stranded copper wire with appropriate wire gauge.
6. Parameter Configuration
6.1 Connection Method
6.2 Configurable Parameters
Analog Input
Analog Output
Digital Input
Digital Output
Communication Settings
6.3 Save and Activation
7. Operation Description
7.1 Power-on Self-test
7.2 Working Mode
Analog Input: Collect field sensor analog signals, convert into digital data and upload to the control system in real time.
Analog Output: Receive control commands and convert into standard analog signals to regulate valves and actuators.
Digital Input: Detect switch and sensor status, upload level change signals in real time.
Digital Output: Control external relays, solenoid valves and indicators to switch on and off according to system commands.
Communication: Realize data exchange and parameter configuration with upper controller via Modbus RTU.
7.3 Indicator Description
8. Daily Maintenance
Regularly check indicator status and terminal tightness, inspect for looseness and oxidation.
Clean module surface only with dry soft cloth; do not use liquid or chemical solvents.
Keep working temperature and humidity within the specified range.
Periodically check cable aging and replace damaged wires in time.
Replace faulty module with the same model and reconfigure parameters.
9. Troubleshooting
- Power indicator offCause: No 24VDC input, reverse polarity or broken wireSolution: Check power line and wiring polarity, restore normal power supply
- Status indicator red flashingCause: Output overload, short circuit, self-test failure or communication interruptionSolution: Disconnect field load, eliminate short circuit and overload, restart module
- Analog input data abnormalCause: Wrong signal type, loose terminal or unmatched load resistanceSolution: Reconfigure channel type, fasten terminals and match load parameters
- Analog output inaccurateCause: Wrong range setting, excessive load resistance or poor contactSolution: Reset engineering range, keep load within rated specification
- Digital input no responseCause: Incorrect logic setting, loose wiring or sensor failureSolution: Adjust input logic, check and fasten wiring
- Digital output no switchingCause: Overload current, wrong logic mode or loose terminalSolution: Reduce load current, reconfigure logic and tighten terminals
- RS485 communication failureCause: Mismatched baud rate or address, A/B line reversed, missing terminal resistorSolution: Unify communication parameters, correct wiring, add matching terminal resistor
Get a Quote