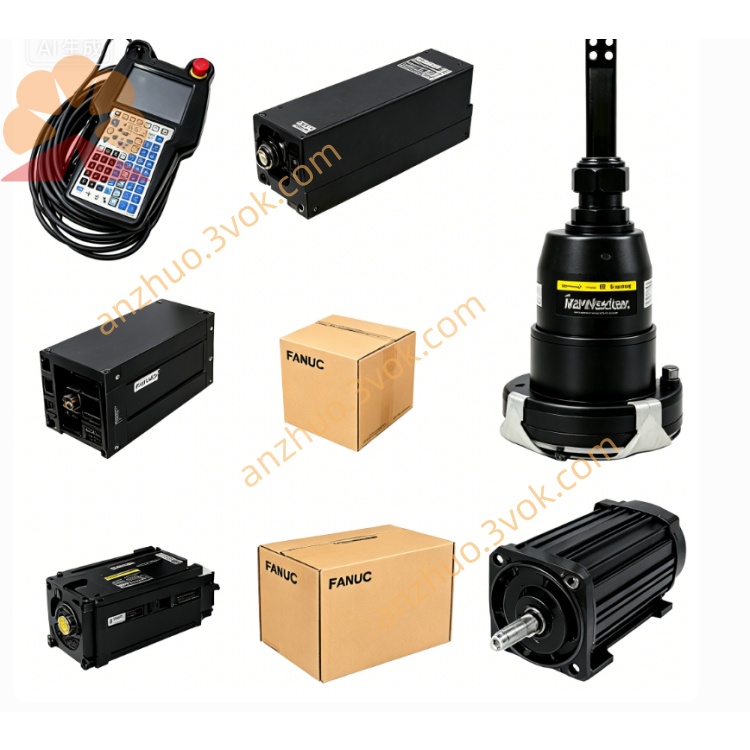
A06B-6117-H211
Description
1. General Information
2. Model & Identification
Part Number:A06B-6117-H211
Type:αi SVM2‑160/160i (Twin‑axis Servo Amplifier)
Control Mode:HRV2 / HRV3 (High‑Response Vector Control)
Manufacturer:FANUC Corporation
Applicable Systems:FANUC 30i/31i/32i‑B series CNC controllers.
3. Electrical Specifications
Input
DC Bus Voltage:283 VDC to 339 VDC (supplied by αi PSR/PSM power supply module).
Control Power:24 VDC ±10% (external or from CNC).
Output (Per Axis, L & M)
Rated Output Current:39 A (continuous).
Peak Output Current:117 A (1 second).
Rated Output Power:6.75 kW per axis; total 13.5 kW.
Output Voltage:0–240 VAC, 3‑phase, sinusoidal PWM.
Frequency Range:0 Hz to 400 Hz.
Regeneration
Built‑in regenerative circuit; no external braking resistor required for most applications.
Regenerative power fed back to DC bus or power supply module.
4. Mechanical & Environmental
Construction:Heavy‑duty metal casing, yellow front panel, vertical panel‑mount design.
Dimensions:Height 380 mm, Width 90 mm, Depth 272 mm.
Weight:Approx. 5 kg.
Cooling:Integrated axial fan (field‑replaceable) + high‑efficiency heat sink.
Operating Temperature:0°C to +55°C.
Storage Temperature:-20°C to +70°C.
Humidity:5%–95% RH (non‑condensing).
Vibration:0.5 g (10–500 Hz).
5. Compatibility
Servo Motors:FANUC αiS, αiF, αiB series (e.g., αi40/3000, αiF40/3000).
Feedback:Absolute / incremental encoders (A‑B‑Z, serial FANUC encoder).
Communication:FSSB (FANUC Serial Servo Bus) fiber‑optic interface; supports multi‑axis daisy‑chain connection.
CNC:FANUC 30i/31i/32i‑B, 0i‑MF/TF with FSSB option.
6. Protection & Diagnostics
Overcurrent Protection:Detects short circuit or overload; alarm AL‑01.
Overvoltage / Undervoltage:Monitors DC bus; AL‑04 (undervoltage), AL‑07 (overvoltage).
Overheat Protection:Monitors heat sink temperature; AL‑03.
Fan Fault:Detects fan stop or speed anomaly; AL‑02.
Regeneration Error:AL‑438 (regenerative overload).
Encoder Error:AL‑310/311 (communication fault).
Status Indicators:Power, FSSB link, alarm LEDs on front panel.
7. Installation & Wiring
Power off the entire system and lockout/tagout to prevent electric shock.
Mount the amplifier vertically on the cabinet panel with four M5 screws; ensure 100 mm clearance above and below for ventilation.
Connect DC bus input (DC+, DC‑) to αi power supply module.
Connect 24 VDC control power to the CN1 connector.
Connect motor power cables to U/V/W terminals for L‑axis and M‑axis.
Connect encoder feedback cables to JF1 (L‑axis) and JF2 (M‑axis).
Connect FSSB fiber cable to FSSB IN / OUT for CNC communication.
Ground the PE terminal securely to cabinet ground.
Verify all connections before restoring power; check LED status and clear alarms.
8. Safety & Warnings
Warning:High voltage present inside; wait at least 10 minutes after power‑off before opening the cover.
Warning:Only qualified electrical personnel may perform installation, wiring, or maintenance.
Caution:Use only FANUC‑specified cables and connectors to avoid damage or fire.
Caution:Do not connect incompatible motors or encoders; this may cause permanent damage.
Maintenance:Clean the fan and heat sink every 3–6 months; replace the fan if noisy or faulty.
9. Features & Benefits
Dual‑axis design saves cabinet space and reduces wiring.
HRV3 control provides fast response and smooth motion for high‑speed machining.
Built‑in regeneration reduces energy consumption and external components.
FSSB fiber communication ensures stable, high‑speed data transmission.
Absolute encoder backup capacitor maintains position data for 10 minutes after power‑off.
Get a Quote