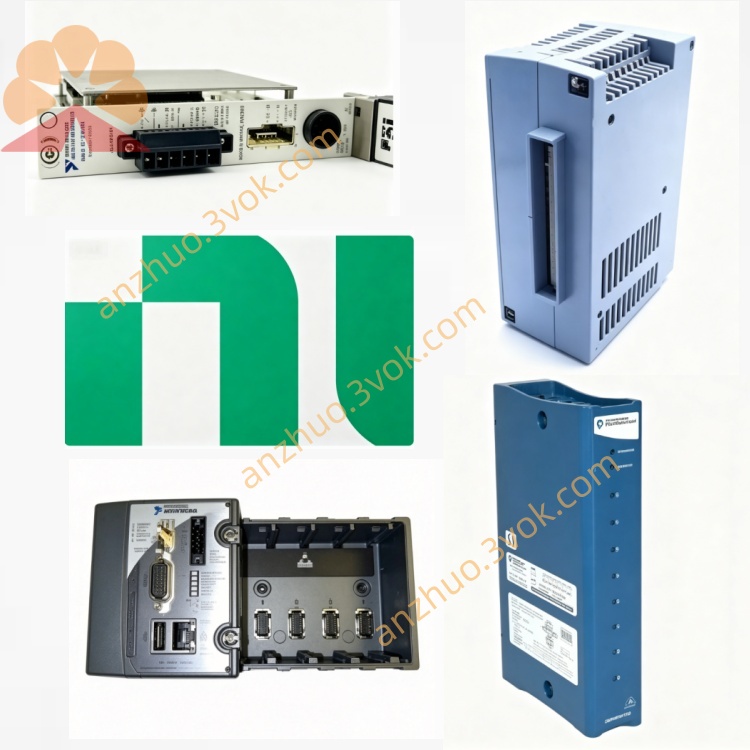
PCI-8252
Description
I. Product Introduction (Core Positioning + Features) Basic Information
Model: PCI‑8252
Type: PCI bus 3-port IEEE 1394a (FireWire 400) image acquisition card
Usage: Machine vision, industrial camera image acquisition, high-speed data transmission
Status: EOL停产, replacement: PCIe‑8252 / USB3‑Vision acquisition card
Main features
3 × IEEE 1394a ports (400 Mb/s)
Each port has a maximum of 400 Mbps, compatible with IIDC 1394 industrial cameras
Ports can be cascaded for expansion (connected to 1394 hub), supporting multi-camera systems
Camera power supply (12 V)
Each port can output 12 V / 1 A, total power 12 W, directly powering industrial cameras
PCI bus (32-bit, 33 MHz)
Bus master DMA, low CPU usage
Size: Half-length PCI card (15.5 × 9.7 cm)
Drivers and software
Driver: NI‑IMAQ for IEEE 1394 (required)
Support: LabVIEW, LabWindows/CVI, Visual Studio (C/C++/VB)
Environment and compliance
Temperature: 0 ~ 55 °C (industrial grade)
RoHS environmental compliance
Typical applications
Industrial automation: product inspection, size measurement, defect identification
Machine vision: high-speed image acquisition, multi-camera synchronization, visual positioning
Research / laboratory: high-speed imaging, biomedical imaging, optical measurement
II. Instructions for Use (Hardware + Software + Basic Operations)
1. Hardware Installation (PCI Slot)
Shut down the system, disconnect the power, open the case.
Insert an idle 32-bit PCI slot (do not insert PCIe; physically incompatible).
Tighten the retaining screws, close the case.
Connect the camera:
Use a 1394a 6-pin cable, one end connected to the card, the other end connected to the camera.
Card end: 3 × 1394a ports (any port is fine)
Camera end: 1394a interface (note: power supply: the card can be directly powered, no additional power required)
Power on, the system recognizes the new hardware.
2. Software Driver Installation (Windows Recommended)
Supported Systems
Windows 2000 / XP / 7 (32/64 bit)
Windows 10/11 has no official drivers (compatibility mode is unstable)
Installation Steps (Official)
Download / Insert the NI-IMAQ for IEEE 1394 driver CD-ROM (available on ni.com for older versions).
Run the installation, check:
NI-IMAQ for IEEE 1394 (core driver)
LabVIEW Vision Toolkit (optional)
Reboot the computer after installation.
Device Manager Verification:
National Instruments → PCI-8252 / 1394a Controller (normal, no exclamation mark)
Imaging Device → IIDC 1394 Camera (displayed after connecting the camera)
3. Basic Usage (LabVIEW Example)
Open LabVIEW → NI-IMAQ Vision.
Initialize the camera:
Call IMAQ Init, select PCI-8252 port + camera
Capture image:
IMAQ Grab (continuous capture) or IMAQ Snap (single frame)
Display / Process:
IMAQ Display displays the image
Call vision functions: edge detection, template matching, size measurement
4. Common Problems and Precautions
PCI not PCIe: can only insert 32-bit PCI slots, PCIe is incompatible
Driver must be NI-IMAQ: the system's built-in 1394 driver cannot be used for image acquisition
Power supply limit: 1 A per port, total 12 W, pay attention to power distribution for multiple cameras
Camera compatibility: only supports IIDC standard 1394a industrial cameras (consumer-level DV is not recommended)
System Limitations: no official drivers for Windows 10/11, new projects are recommended to use PCIe-USB3 vision solution
III. Alternative Models (Recommended)
PCIe-8252: PCIe interface, new 1394b (800 Mbps) acquisition card
USB3-Vision Acquisition Card: USB3.0, no power supply required, highly compatible (preferred for new projects)
Get a Quote