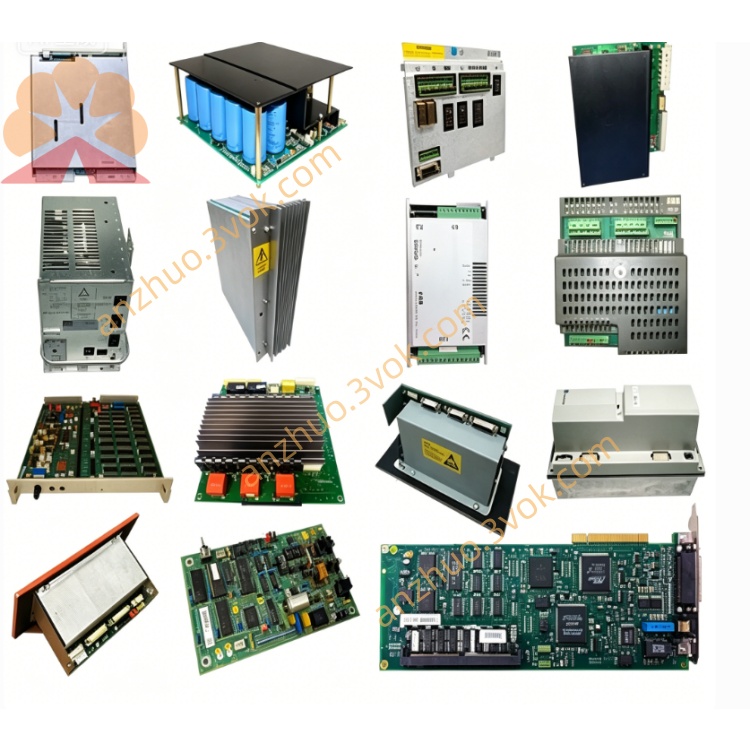
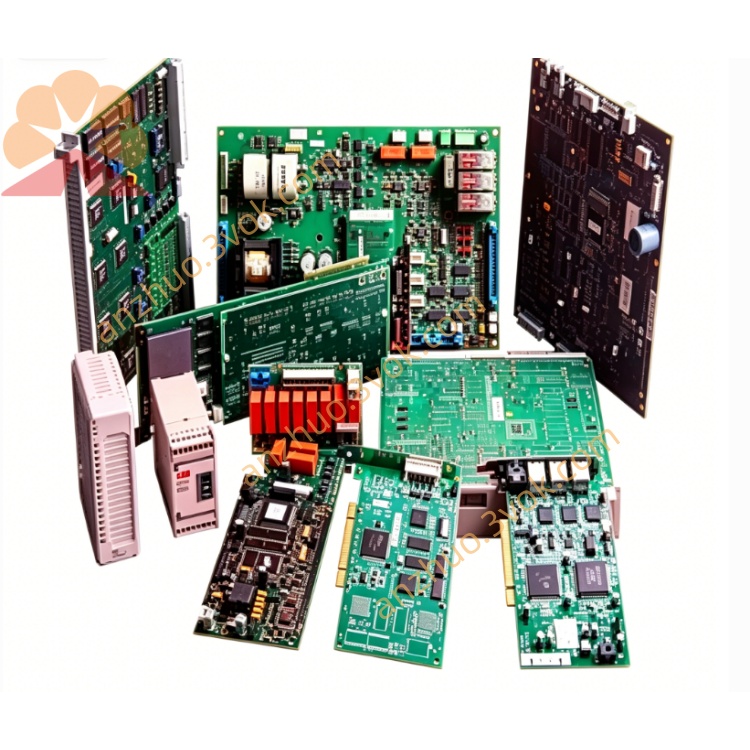
ICS Triplex 5600632 Signal Terminal Board for TMR SIL3 Safety Instrumented System
Description
2. General Description
3. Technical Specifications
3.1 Electrical Characteristics
Supply Voltage: 24V DC ±10%
Power Consumption: 3.5W maximum
Input Channels: 8 differential analog inputs
Input Type: Voltage (0-10V) / Current (4-20mA) selectable
Resolution: 16-bit
Sampling Rate: 100 samples per second per channel
Accuracy: ±0.1% of full scale
Isolation Voltage: 2500V AC (input to output)
Output Channels: 4 analog outputs
Output Type: 0-10V / 4-20mA selectable
Output Drive Capacity: 500Ω maximum load
Digital I/O: 16 configurable channels (8 input, 8 output)
Digital Input Voltage: 24V DC (sink/source configurable)
Digital Output Rating: 24V DC, 0.5A per channel
Communication Interface: RS-485 (Modbus RTU protocol)
Baud Rate: 1200-115200 bps (default 9600 bps)
3.2 Environmental Specifications
Operating Temperature: -20°C to +60°C
Storage Temperature: -40°C to +85°C
Relative Humidity: 5-95% (non-condensing)
Vibration Resistance: 10-500Hz, 2g (IEC 60068-2-6)
Shock Resistance: 15g, 11ms (IEC 60068-2-27)
Protection Rating: IP20 (enclosure)
MTBF: >100,000 hours at 25°C
3.3 Physical Specifications
Dimensions: 125mm × 90mm × 40mm (W×H×D)
Weight: 280g
Mounting: DIN rail (35mm standard)
Enclosure Material: Flame-retardant ABS plastic
Terminals: Screw terminal blocks (12-24 AWG)
LED Indicators: Power, Status, Communication, Channel Activity
4. Installation Instructions
4.1 Unpacking and Inspection
Remove the module from packaging and inspect for physical damage
Verify all components and accessories are included as per packing list
Confirm model number matches order specifications
Store in original packaging if not immediately installed
4.2 Mounting Procedure
Ensure mounting surface is clean, dry, and structurally sound
Align module with 35mm DIN rail
Press firmly until module snaps securely into position
Verify module is firmly seated with no movement
Maintain minimum clearance: 50mm above, 30mm below, 20mm sides for ventilation
4.3 Wiring Connections
- Power Connections
Connect positive supply (+24V DC) to terminal V+
Connect negative supply (0V) to terminal V-
Ensure proper polarity and secure connections
Use appropriately sized copper conductors (1.0-1.5mm²)
- Input Wiring
For voltage inputs: Connect signal to VIN terminals, ground to COM
For current inputs: Connect signal to IIN terminals, ground to COM
Maintain proper shielding for analog input cables
Separate analog wiring from high-voltage power cables by minimum 200mm
Use twisted-pair shielded cable for all analog connections
- Output Wiring
Connect output signals to respective OUT terminals
Connect load devices between output terminal and common
Ensure output loads do not exceed specified ratings
For current outputs, verify proper termination (250Ω resistor if required)
- Digital I/O Wiring
Connect digital inputs to DI terminals, common to DCOM
Connect digital outputs to DO terminals, common to DCOM
Configure input type (sink/source) via DIP switches before power-up
- Communication Connections
Connect RS-485 A/B terminals to communication bus
Install termination resistor (120Ω) at end points of bus
Maintain proper bus polarity (A to A, B to B)
Use shielded twisted-pair cable for communication wiring
4.4 Configuration Settings
- Set DIP switches according to application requirements:
SW1-4: Input type selection (voltage/current)
SW5-6: Output type selection (voltage/current)
SW7: Communication protocol selection
SW8: Termination resistor enable/disable
- Set address switches for communication identification (1-247)
- Verify all switch settings before applying power
5. Operation Instructions
5.1 Power-Up Procedure
- Confirm all wiring connections are correct and secure
- Verify configuration switches are properly set
- Apply power to the module
- Check LED indicators:
Power LED (Green): Solid ON indicates proper power supply
Status LED (Yellow): Blinking indicates normal operation
Communication LED (Red): Blinking with data activity
- Allow 30 seconds for initialization and self-test completion
- Verify module enters normal operation mode (Status LED blinking regularly)
5.2 Normal Operation
Module automatically scans inputs at configured rate
Processed values available through communication interface
Digital outputs respond to input commands within 5ms
Analog outputs update within 10ms of command reception
All channels continuously monitored for out-of-range conditions
Fault conditions indicated via Status LED and communication registers
5.3 Calibration Procedure
- Enter calibration mode:
Power off module
Set CAL switch to ON position
Power on module (Status LED flashes rapidly)
- Zero calibration (for analog inputs):
Apply zero input signal to channel
Press and hold CAL button for 5 seconds
Wait for confirmation (LED flashes twice)
- Full-scale calibration:
Apply full-scale input signal
Press CAL button briefly
Wait for confirmation (LED flashes three times)
- Repeat for all channels requiring calibration
- Exit calibration mode:
Power off module
Set CAL switch to OFF position
Power on for normal operation
6. Maintenance and Service
6.1 Regular Maintenance
- Monthly Inspection:
Check LED indicators for proper operation
Verify terminal connections for tightness
Inspect environment for excessive dust, moisture, or temperature
- Quarterly Maintenance:
Clean module surface with dry, lint-free cloth
Check for signs of overheating or component damage
Verify communication performance and error rates
- Annual Maintenance:
Perform complete calibration check
Inspect wiring for deterioration or damage
Verify all protective functions operate correctly
Update configuration if system requirements have changed
6.2 Troubleshooting
No power indicators: Check power supply, wiring polarity, fuse
Intermittent power: Check loose connections, voltage fluctuations
Overload indication: Reduce load, check for short circuits
No input signal: Check wiring, sensor power, configuration
Unstable readings: Check grounding, shielding, electrical noise
Incorrect values: Verify calibration, input type configuration
No output: Check wiring, load connection, configuration
Incorrect output: Verify calibration, command signals
Unstable output: Check power supply, load conditions
No communication: Check wiring, baud rate, address settings
Intermittent communication: Check bus termination, noise interference
Error messages: Refer to protocol manual for error code definitions
6.3 Repair Instructions
Disconnect all power and wiring before service
Replace defective module with identical unit
Transfer configuration settings to replacement module
Perform complete verification before returning to service
Keep defective module for manufacturer analysis if required
7. Safety Information
7.1 Safety Precautions
Read all instructions before installation and operation
Install only in accordance with national and local electrical codes
Use only within specified electrical and environmental ratings
Provide proper over-current protection (2A fuse recommended)
Do not expose to hazardous gases, explosive conditions
Not for use in medical or life-support applications
Not for outdoor use unless properly protected
7.2 Warning Statements
DANGER: Risk of electric shock. Always disconnect power before servicing.
WARNING: Not for use in safety-critical systems without additional protection.
CAUTION: Risk of damage due to electrostatic discharge. Use proper ESD protection.
NOTE: Equipment damage may occur if used outside specified conditions.
8. Warranty Information
Warranty Period: 24 months from date of shipment
Warranty Coverage: Defects in materials and workmanship
Exclusions: Damage due to improper installation, misuse, accident, unauthorized repair
Claim Procedure: Contact manufacturer with proof of purchase and defect description
Manufacturer's Responsibility: Repair or replace defective products at sole discretion
9. Ordering Information
Standard Model: 5600632
Accessories:
Terminal Block Kit: ACC-5600-TB
Communication Cable: ACC-5600-CAB
Mounting Kit: ACC-5600-MNT
Calibration Tool: CAL-5600-KIT
10. Compliance Information
EMC Directive: 2014/30/EU
Low Voltage Directive: 2014/35/EU
RoHS Directive: 2011/65/EU
Standards:
IEC 61010-1: Safety requirements for electrical equipment
IEC 61326-1: General requirements for industrial process equipment
IEC 61131-2: Requirements for programmable logic controllers
Get a Quote